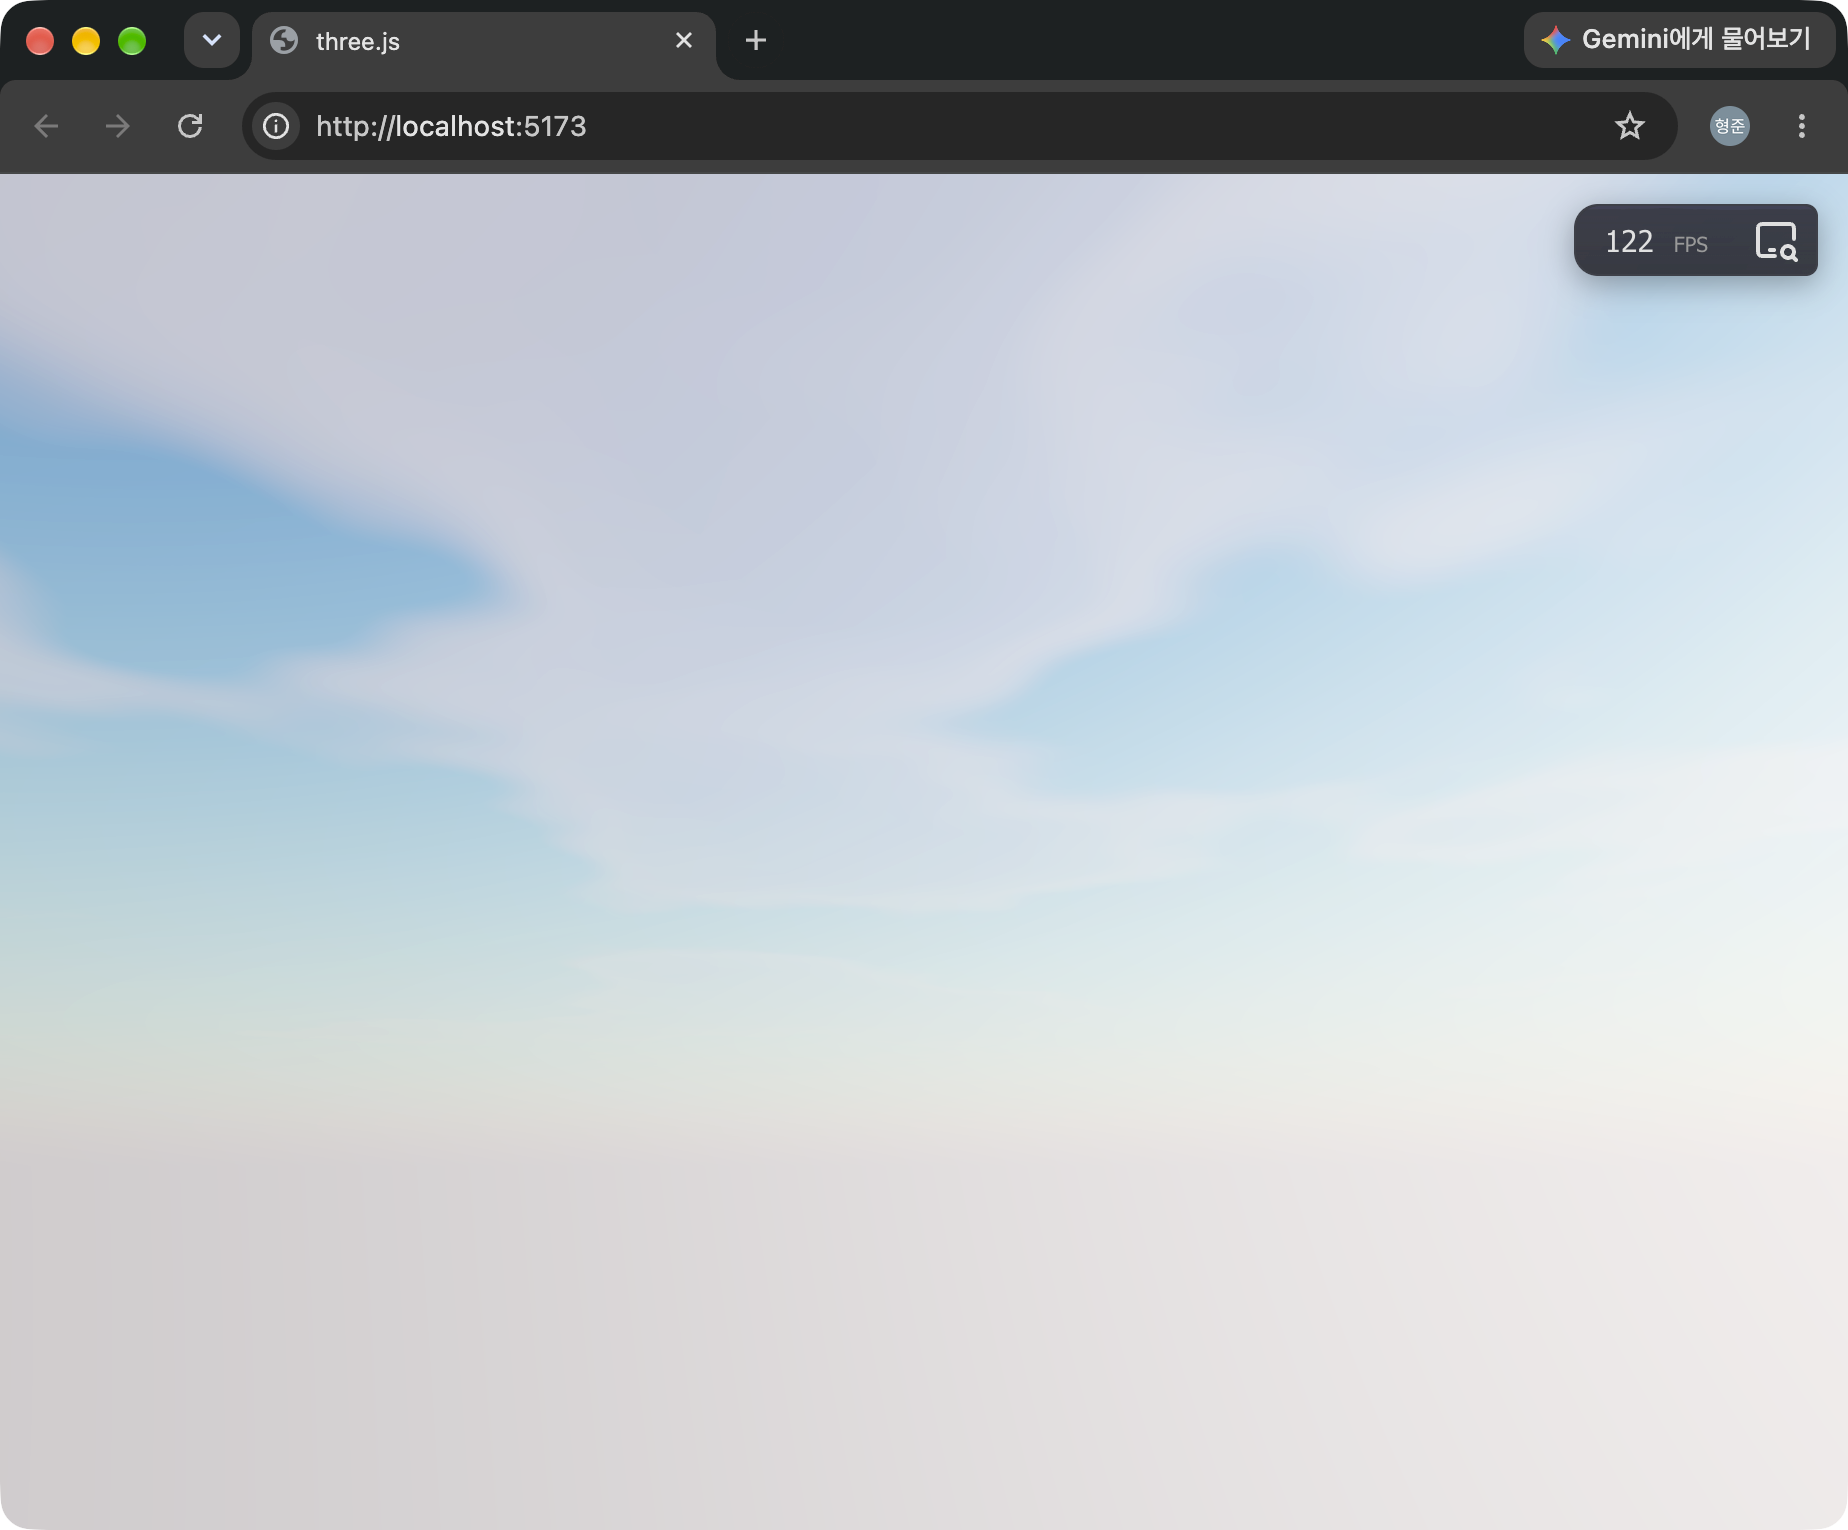
SkyMesh는 하늘에 대한 시각적인 표현을 해주는 API입니다. 이 SkyMesh를 이용하여 시각적인 표현 뿐만 아니라 실제 광원으로써 사용하기 위한 코드에 대한 내용입니다.
먼저 SkyMesh를 사용하기 위해 다음과 같은 import 문이 필요합니다.
import { SkyMesh } from 'three/addons/objects/SkyMesh.js';
그리고 SkyMesh 객체를 생성합니다.
private sky!: SkyMesh;

private setupSky() {
  const sky = new SkyMesh();
  sky.scale.setScalar(9000);
  // this.scene.add(sky);

  sky.sunPosition.value.copy(this.sunLight.position);
  sky.turbidity.value = 3;
  sky.rayleigh.value = 2;
  sky.cloudSpeed.value = 0; // keep the clouds static, like the WebGL version
  sky.showSunDisc.value = false; // the sun is represented by the light

  this.sky = sky;
}
위의 코드는 SkyMesh 객체를 생성했고 있는데, SkyMesh의 위치를 잡기 위해 this.sunLight의 position을 참고하고 있습니다. 고도와 방위각을 통해 직접 그 위치를 정하고 싶다면 다음 코드를 참고하시기 바랍니다.
sunLight.position.setFromSphericalCoords(
  1,
  THREE.MathUtils.degToRad(90 - params.elevation),
  THREE.MathUtils.degToRad(params.azimuth)
);
이를 scene에 추가하면 하늘이 표현됩니다. 하지만 하늘 표현뿐만 아니라 SkyMesh를 이용해 환경광을 구성해야 합니다. 이를 위한 코드는 다음과 같습니다.
private setupEnvironment() {
  const pmremGenerator = new THREE.PMREMGenerator(this.renderer);
  const sceneEnv = new THREE.Scene();
  sceneEnv.add(this.sky);

  const renderTarget = pmremGenerator.fromScene(sceneEnv);
  this.scene.environment = renderTarget.texture;
  // renderTarget.dispose();

  this.scene.add(this.sky);
}