기존에 WebGLRenderer 객체를 생성하기 위한 코드는 다음과 같았습니다.
import * as THREE from "three"

...

let renderer = new THREE.WebGLRenderer({ antialias: true });
위의 방식 대신에 다음 방식이 권장됩니다.
import * as THREE from "three/webgpu"
import { WebGLRenderer } from 'three'

...

let renderer = new WebGLRenderer({ antialias: true });
권장되는 방식의 경우 WebGL에서도 TSL을 사용할 수 있습니다. 단, 다음과 같은 추가적인 코드가 필요합니다.
import { WebGLNodesHandler } from 'three/addons/tsl/WebGLNodesHandler.js'

...

renderer.setNodesHandler(new WebGLNodesHandler());
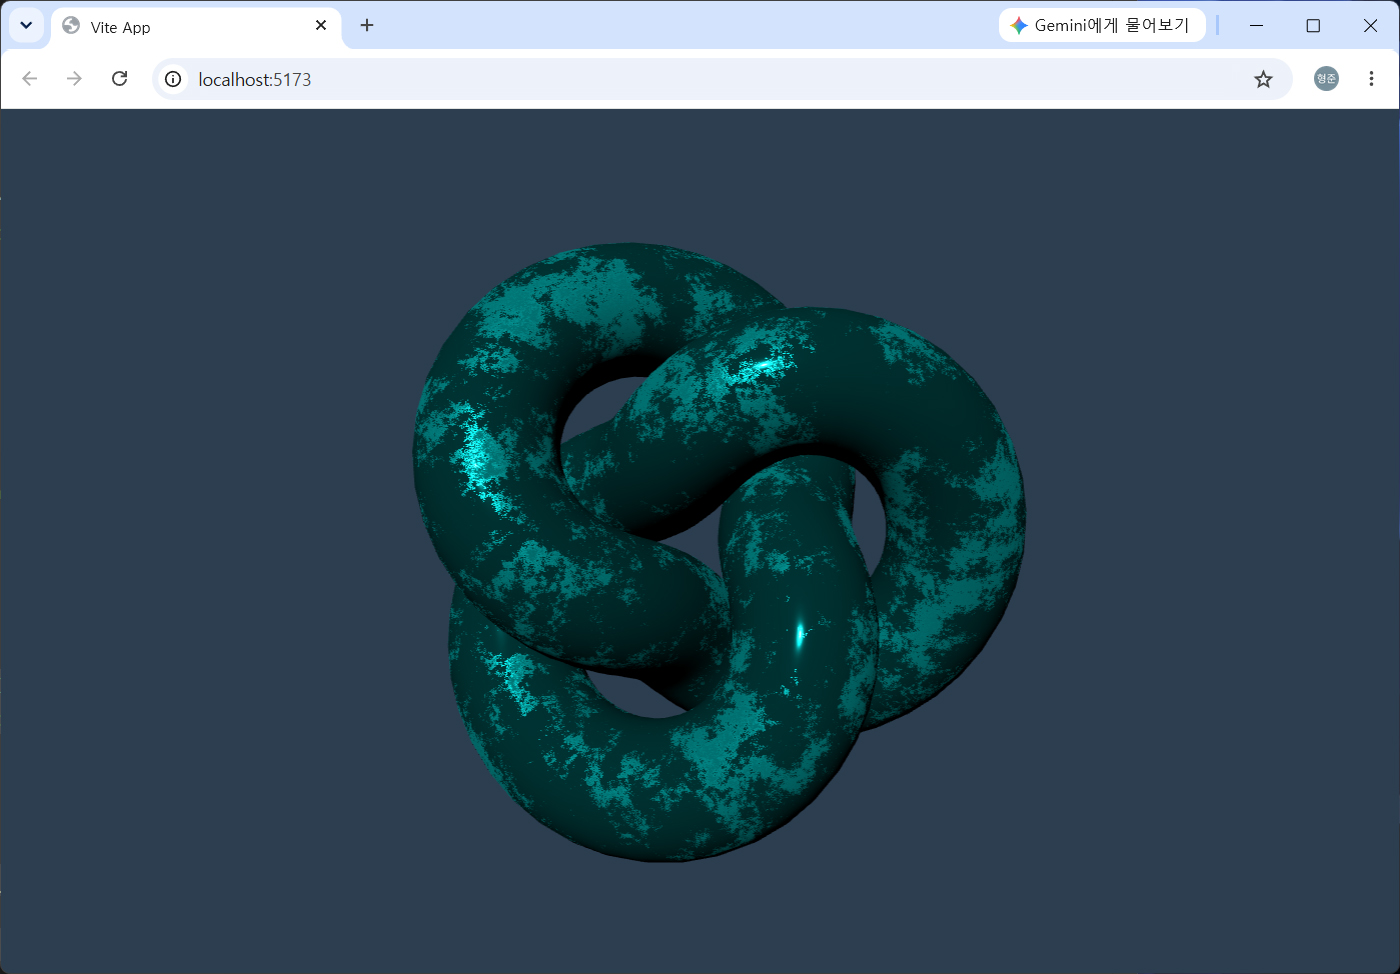
실제로 WebGL 환경에서 TSL에 대한 예시 코드는 다음과 같습니다.
import { mx_fractal_noise_float, positionLocal, Fn } from 'three/tsl';

const geometry = new THREE.TorusKnotGeometry(1, 0.4, 128, 32);
const material = new THREE.MeshStandardNodeMaterial({
  color: 0x00ffff,
  metalness: .9,
});

const roughnessNode = mx_fractal_noise_float(positionLocal.mul(2), 6, 4, .7, 2).sin();

material.roughnessNode = roughnessNode;

const torusKnot = new THREE.Mesh(geometry, material);
this._scene.add(torusKnot);
위 코드에 대한 실행 결과는 다음과 같습니다.