자바스크립트의 모듈 기반으로 three.js를 도입하기 위한 뼈대입니다. App이라는 클래스를 하나 만들 것이고 이 App 클래스를 통해 three.js의 초기화 및 정육면체를 회전시켜 보겠습니다.
먼저 HTML 코드는 다음과 같습니다.
<!DOCTYPE html>
<html>
<head>
    <meta name="viewport" content="width=device-width, initial-scale=1">
    <link rel="stylesheet" href="style.css">
    <script type="module" src="app.js">
</head>
<body>
</body>
</html>
DOM은 없고 css와 js 파일만을 참조하고 있습니다. DOM은 js 파일인 app.js에서 동적으로 추가해 줍니다. 먼저 css에 대한 style.css 파일의 코드는 다음과 같습니다.
* {
    outline: none;
    padding: 0;
    margin: 0;
}
3차원 출력이 웹 브라이저 전체 화면을 차지하는 경우라면 html과 css는 변경되지 않으며 모든 작업은 js 파일에서 처리됩니다. 이제 app.js 파일을 살펴보면 다음과 같습니다.
import * as THREE from 'https://cdnjs.cloudflare.com/ajax/libs/three.js/r126/three.module.min.js'

class App {
    constructor() {
        this.initialize();
        this.render();
    }

    initialize() {}
    update() {}
    render() {}
    resize() {}
}

window.onload = function() {
    new App()
}
App 클래스는 4개의 매서드를 갖습니다. initialize는 WebGL을 위한 객체 초기화 및 Mesh, Camera, 화면 크기 변경에 따른 이벤트 등록을 담당하는데 코드는 다음과 같습니다.
initialize() {
    this.domWebGL = document.createElement('div');
    document.body.appendChild(this.domWebGL);

    let scene = new THREE.Scene();
    let renderer = new THREE.WebGLRenderer();

    renderer.setClearColor(0x000000, 1.0);
    renderer.setPixelRatio(window.devicePixelRatio);
    renderer.setSize(window.innerWidth, window.innerHeight);

    this.domWebGL.appendChild(renderer.domElement);
    window.onresize = this.resize.bind(this);

    let cubeGeometry = new THREE.BoxGeometry(1, 1, 1);
    let cubeMaterial = new THREE.MeshNormalMaterial();
    let cube = new THREE.Mesh(cubeGeometry, cubeMaterial);

    cube.position.x = 0;
    cube.position.y = 0;
    cube.position.z = 0;

    scene.add(cube);

    let camera = new THREE.PerspectiveCamera(40, window.innerWidth / window.innerHeight, 0.1, 100);
    camera.position.x = 3;
    camera.position.y = 3;
    camera.position.z = 3;
    camera.lookAt(scene.position);
    scene.add(camera);

    this.camera = camera;
    this.renderer = renderer;
    this.scene = scene;
    this.cube = cube;
}
render 매서드는 실제 3차원 화면을 렌더링을 수행하며 애니메이션 처리를 위해 내부적으로 update를 호출합니다. 이 두 매서드는 다음과 같습니다.
update() {
    this.cube.rotation.x += 0.01;
    this.cube.rotation.y += 0.02;
}

render() {
    this.update();
    this.renderer.render(this.scene, this.camera);
    requestAnimationFrame(this.render.bind(this));

}
웹 브라우저의 크기가 변경될 때 3차원 렌더링 되는 화면 크기도 그에 맞춰 변경해줘야 합니다. 이를 위한 resize 매서드는 다음과 같습니다.
resize() {
    let camera = this.camera;
    let renderer = this.renderer;
    let scene = this.scene;

    camera.aspect = window.innerWidth / window.innerHeight;
    camera.updateProjectionMatrix();
    renderer.setSize(window.innerWidth, window.innerHeight);
    renderer.render(scene, camera);
}
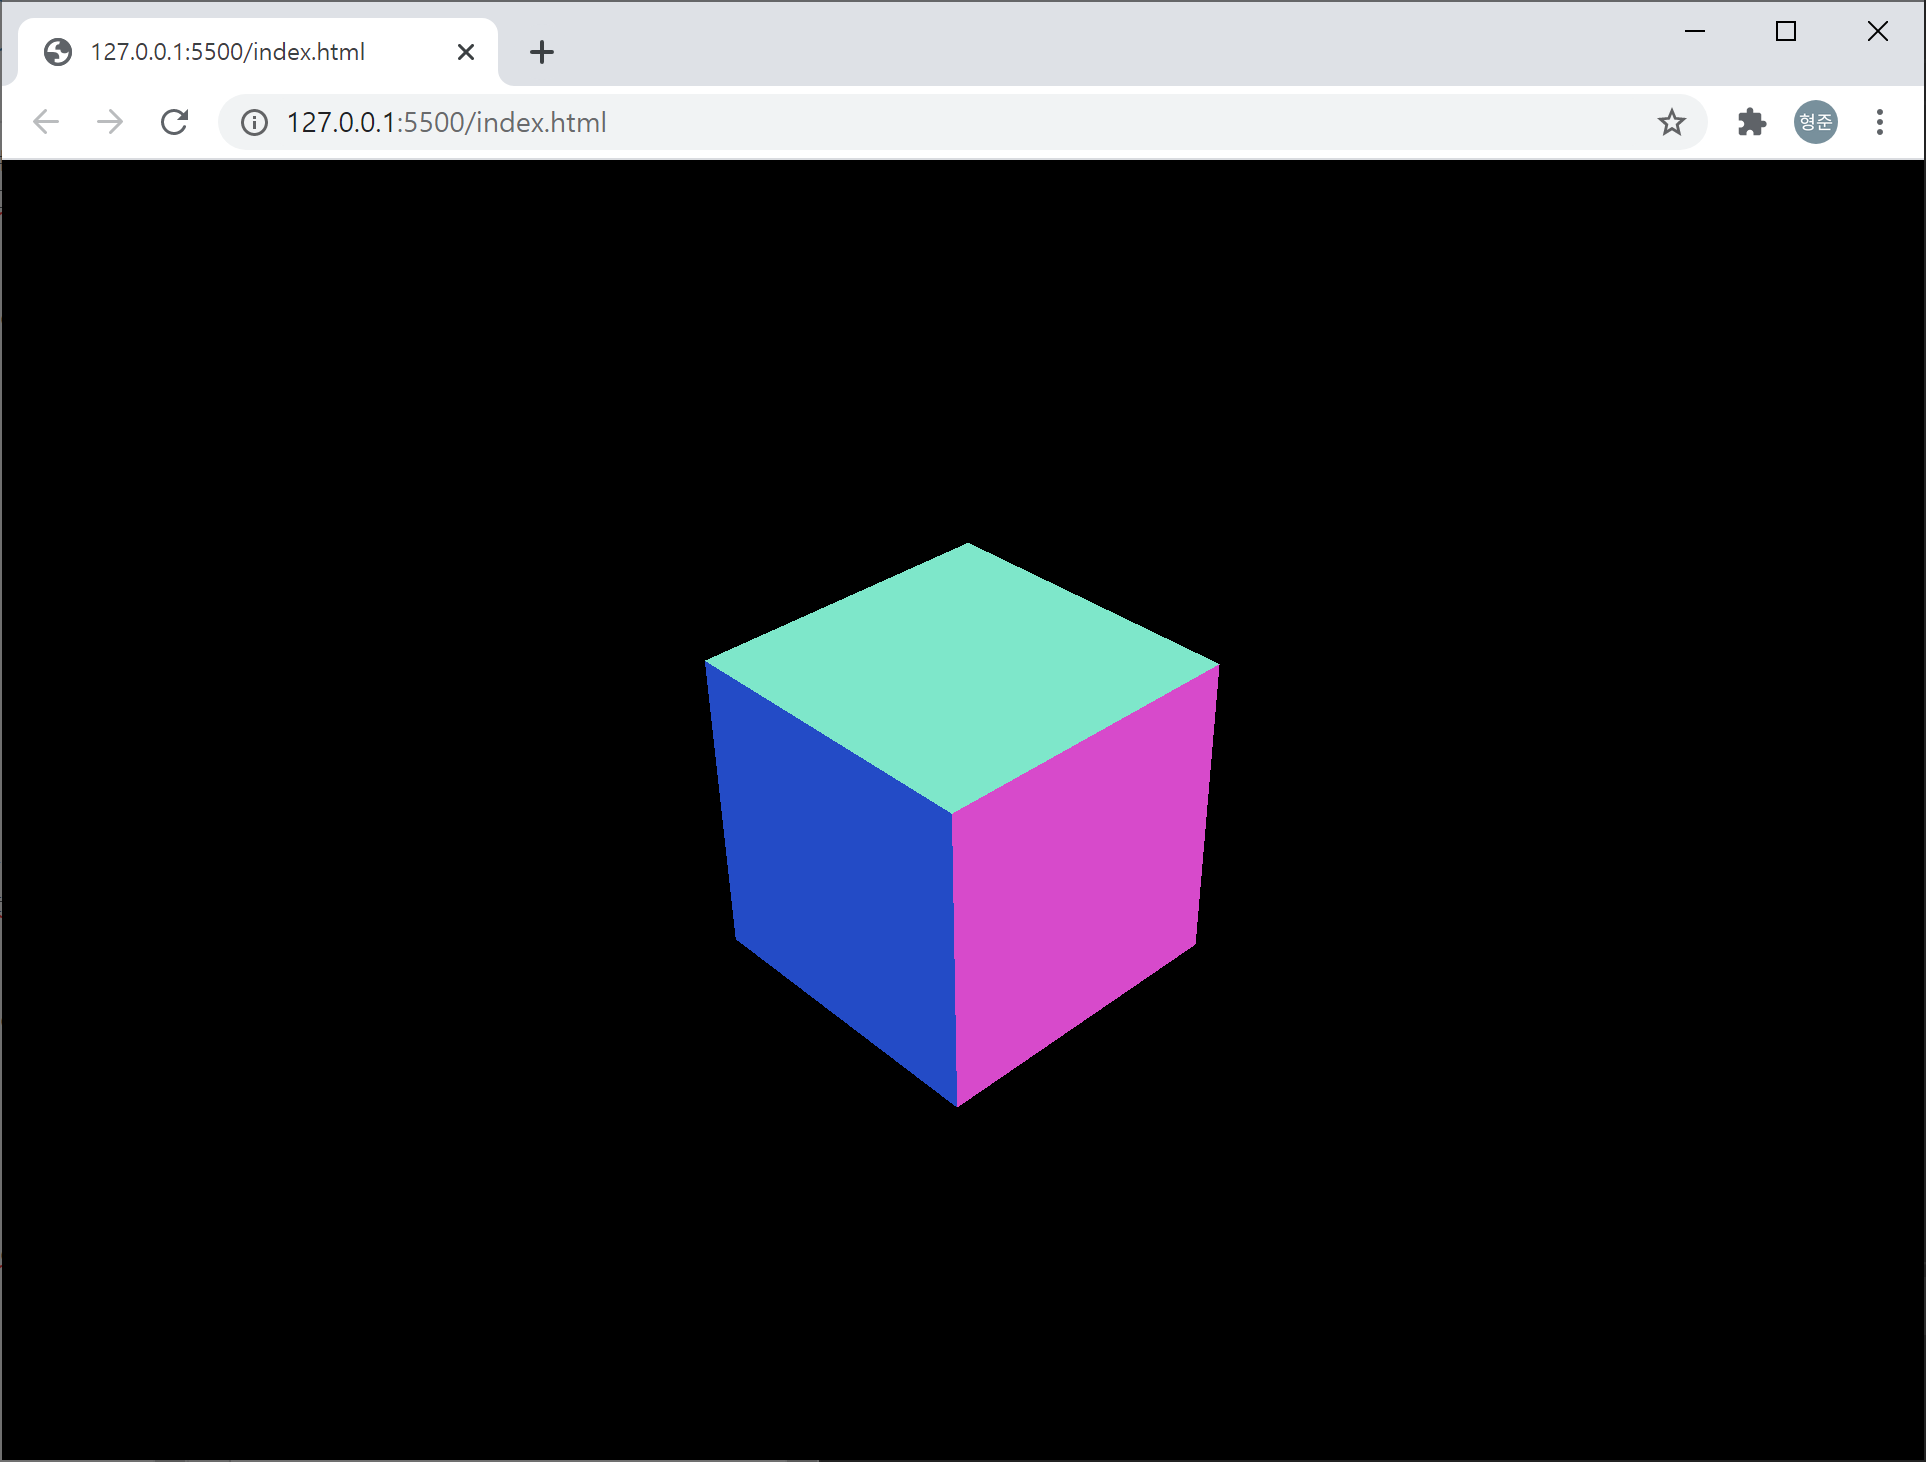
실행해 보면 아래처럼 정육면체의 매쉬가 회전하는 화면을 볼 수 있습니다.