three.js를 이용하여 3D 모델을 불러와서 화면에 렌더링 할 때, 해당 모델의 크기와 원점이 모두 상이하여 이를 공통적으로 처리하기 위한 함수입니다.
_zoomFit(object3D, camera, viewMode, bFront) {
    const box = new THREE.Box3().setFromObject(object3D);
    const sizeBox = box.getSize(new THREE.Vector3()).length();
    const centerBox = box.getCenter(new THREE.Vector3());

    let offsetX = 0, offsetY = 0, offsetZ = 0;
    viewMode === "X" ? offsetX = 1 : (viewMode === "Y") ? offsetY = 1 : offsetZ = 1;
    if(!bFront) {
        offsetX *= -1;
        offsetY *= -1;
        offsetZ *= -1;
    }
    camera.position.set(centerBox.x + offsetX, centerBox.y + offsetY, centerBox.z + offsetZ);

    const halfSizeModel = sizeBox * 0.5;
    const halfFov = THREE.Math.degToRad(camera.fov * .5);
    const distance = halfSizeModel / Math.tan(halfFov);

    const direction = (new THREE.Vector3()).subVectors(camera.position, centerBox).normalize();

    const position = direction.multiplyScalar(distance).add(centerBox);
    camera.position.copy(position);

    camera.near = sizeBox / 100;
    camera.far = sizeBox * 100;

    camera.updateProjectionMatrix();

    camera.lookAt(centerBox.x, centerBox.y, centerBox.z);
}
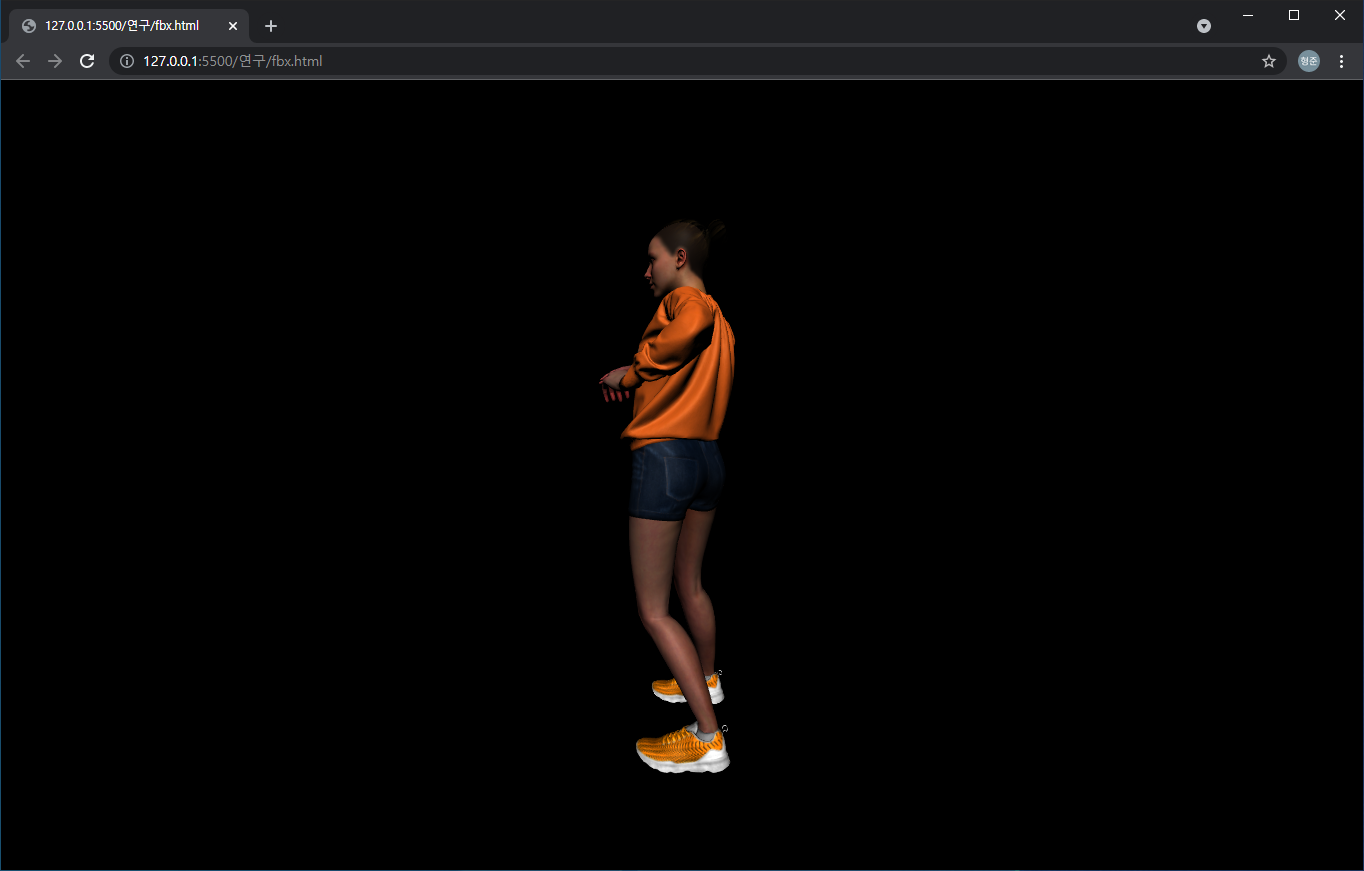
실제 활용은 다음처럼 fbx 형식의 모델 파일 불러와 화면상에 렌더링하는 예를 보면 쉽게 확인할 수 있습니다.
loader.load('data/Rumba Dancing.fbx', object => {
    this._scene.add(object);
    this._zoomFit(object, this._camera, "X", true);
} );
위의 _zoomFit의 세번째와 네번째 인자인 “X”, true는 양(plus)의 X축 방향에서 바라본다는 의미입니다. 위 코드의 결과는 다음과 같습니다.