Three.js를 이용한 개발 시 개인적으로 빠르게 참조하기 위해 작성한 글입니다.
그림자 적용에 대한 코드
renderer.shadowMap.enabled = true;
renderer.shadowMap.type = THREE.VSMShadowMap;

const shadowLight = new THREE.DirectionalLight(0xffe79d, 0.7);
shadowLight.position.set(150, 220, 100);
shadowLight.target.position.set(0,0,0);
shadowLight.castShadow = true;
shadowLight.shadow.mapSize.width = 1024*10;
shadowLight.shadow.mapSize.height = 1024*10;
shadowLight.shadow.camera.top = shadowLight.shadow.camera.right = 1000;
shadowLight.shadow.camera.bottom = shadowLight.shadow.camera.left = -1000;
shadowLight.shadow.camera.far = 800;
shadowLight.shadow.radius = 5;
shadowLight.shadow.blurSamples = 5;
shadowLight.shadow.bias = -0.0002;

const cameraHelper = new THREE.CameraHelper(shadowLight.shadow.camera);
this._scene.add(cameraHelper);

island.receiveShadow = true;
island.castShadow = true;
지오메트리의 좌표 수정
const sphereGeom = new THREE.SphereGeometry(6 + Math.floor(Math.random() * 12), 8, 8);
const sphereGeomPosition = sphereGeom.attributes.position;
for (var i = 0; i < sphereGeomPosition.count; i++) {
    sphereGeomPosition.setY(i, sphereGeomPosition.getY(i) + Math.random() * 4 - 2);
    sphereGeomPosition.setX(i, sphereGeomPosition.getX(i) + Math.random() * 3 - 1.5);
    sphereGeomPosition.setZ(i, sphereGeomPosition.getZ(i) + Math.random() * 3 - 1.5);
}

sphereGeom.computeVertexNormals();
sphereGeom.attributes.position.needsUpdate = true;
지오메트리에 사용자 정의 데이터 주입
// 주입
const waves = [];
const waterGeoPositions = waterGeo.attributes.position;
for (let i = 0; i < waterGeoPositions.count; i++) {
    waves[i] = Math.random() * 100;
}
waterGeo.setAttribute("wave", new THREE.Float32BufferAttribute(waves, 1));

// 읽기
const waves = sea.geometry.attributes.wave;

for(let i=0; i<positions.count; i++) {
    const v = waves.getX(i);
}
안개 설정 코드
scene.fog = new THREE.Fog("rgba(54,219,214,1)", 1000, 1400);
OrbitControls 관련 코드
const controls = new OrbitControls(this._camera, this._divContainer);
controls.minPolarAngle = -Math.PI / 2;
controls.maxPolarAngle = Math.PI / 2 + 0.1;
controls.enableZoom = true;
controls.enablePan = false;
controls.autoRotate = true;
controls.autoRotateSpeed = 0.2;

this._controls = controls;

this._controls.update();
Object3D의 MBR 얻기
const board = this._scene.getObjectByName("Board");
const box = new THREE.Box3().setFromObject(board);
console.log(box);
Mesh의 월드좌표에 대한 position 얻기
mesh.updateMatrixWorld();

const worldPos = new THREE.Vector3();
worldPos.setFromMatrixPosition(worldPos.matrixWorld);
Faked Shadow
그림자를 위한 매시에 대한 재질 속성 지정이 핵심. 참고로 shadow에 대한 이미지는 투명 이미지가 아님. 즉, 배경색이 하얀색인 이미지임.
const shadow = new THREE.TextureLoader().load( 'models/gltf/ferrari_ao.png' );

const mesh = new THREE.Mesh(
    new THREE.PlaneGeometry( 0.655 * 4, 1.3 * 4 ),
    new THREE.MeshBasicMaterial( {
        map: shadow,
        blending: THREE.MultiplyBlending,
        toneMapped: false,
        transparent: true
    } )
);
mesh.rotation.x = - Math.PI / 2;
mesh.renderOrder = 2;
carModel.add( mesh );
텍스쳐 이미지 품질 올리기
샘플링 횟수를 올리는 것으로 속도는 느려질 수 있으나 품질은 향상됨
texture.anisotropy = renderer.capabilities.getMaxAnisotropy();
async 리소스 로딩
async function init() {
    const rgbeLoader = new RGBELoader().setPath('textures/equirectangular/');
    const gltfLoader = new GLTFLoader().setPath('models/gltf/DamagedHelmet/glTF/');

    const [texture, gltf] = await Promise.all([
        rgbeLoader.loadAsync( 'venice_sunset_1k.hdr' ),
        gltfLoader.loadAsync( 'DamagedHelmet.gltf' ),
    ]);
}

init().catch(function(err) {
    console.error(err);
});
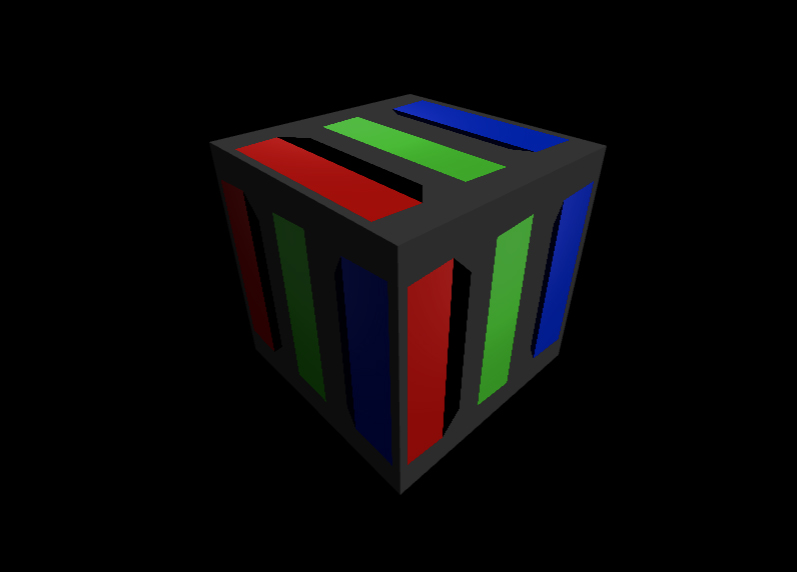
텍스쳐를 Canvas로 후다닥 만들기
const canvas = document.createElement( 'canvas' );
canvas.width = 1;
canvas.height = 32;

const context = canvas.getContext( '2d' );
const gradient = context.createLinearGradient( 0, 0, 0, 32 );
gradient.addColorStop( 0.0, '#ff0000' );
gradient.addColorStop( 0.5, '#00ff00' );
gradient.addColorStop( 1.0, '#0000ff' );
context.fillStyle = gradient;
context.fillRect( 0, 0, 1, 32 );

const sky = new THREE.Mesh(
	new THREE.SphereGeometry( 10 ),
	new THREE.MeshBasicMaterial( { map: new THREE.CanvasTexture( canvas ), side: THREE.BackSide } )
);
scene.add( sky );
GLTF 파일 로딩
import { GLTFLoader } from "../examples/jsm/loaders/GLTFLoader.js"

const loader = new GLTFLoader();
loader.load("./data/ring.glb", gltf => {
    const object = gltf.scene;
    this._scene.add(object);
});
InstancedMesh
const mesh = new THREE.InstancedMesh(geometry, material, 10000)

const matrix = new THREE.Matrix4()
const dummy = new THREE.Object3D()

for(let i = 0; i < 10000; i++) {
  mesh.getMatrixAt(i, matrix)
  matrix.decompose(dummy.position, dummy.rotation, dummy.scale)

  dummy.rotation.x = Math.random()
  dummy.rotation.y = Math.random()
  dummy.rotation.z = Math.random()

  dummy.updateMatrix()

  mesh.setMatrixAt(i, dummy.matrix)
  mesh.setColorAt(i, new THREE.Color(Math.random() * 0xffffff)
}

mesh.instanceMatrix.needsUpdate()